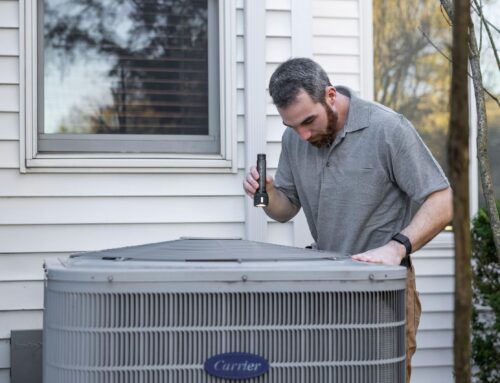
Unlock Better Comfort
Air conditioning vents are essential for maintaining a comfortable indoor environment, but they can accumulate dust, dirt, and allergens over time. Regularly cleaning your AC vents not only improves indoor air quality but also enhances the efficiency of your HVAC system. In this guide, we’ll walk you through the steps to effectively clean your vents.
Tools and Materials You’ll Need:
- Screwdriver or drill with a screwdriver bit
- Vacuum cleaner with a brush attachment
- Microfiber cloths
- A mild cleaning solution (water and a few drops of dish soap)
- Old toothbrush or a soft-bristle brush
- Replacement air filter (if necessary)
Step 1: Turn Off the HVAC System
Before you begin cleaning your AC vents, turn off your HVAC system. This prevents dust and debris from circulating through your home during the cleaning process.
Step 2: Remove Vent Covers
Using a screwdriver or a drill with a screwdriver bit, carefully remove the vent covers from the walls or ceiling. Place screws in a safe location, so you don’t lose them.
Step 3: Vacuum Dust and Debris
With the brush attachment on your vacuum cleaner, gently vacuum the interior of the vent cover to remove loose dust and debris. Be thorough but careful not to damage the vent.
Step 4: Clean Vent Covers
Fill a basin with warm water and add a few drops of mild dish soap. Soak the vent covers in the soapy water for about 10-15 minutes to loosen grime. After soaking, use a microfiber cloth or a soft brush to wipe away any remaining dirt and grease.
Step 5: Rinse and Dry Vent Covers
Rinse the vent covers thoroughly with clean water to remove any soap residue. Pat them dry with a clean cloth or let them air dry completely before reattaching them to the wall or ceiling.
Step 6: Clean Inside the Duct
While the vent covers are drying, you can clean inside the duct as well. Attach a soft brush or an old toothbrush to your vacuum cleaner hose and carefully clean the interior of the duct. Be gentle to avoid damaging the ductwork.
Step 7: Replace the Air Filter (if needed)
This is also a good time to check and replace your HVAC system’s air filter if it’s dirty or clogged. A clean filter improves air quality and system efficiency.
Step 8: Reattach Vent Covers
Once the vent covers are dry, reattach them to the wall or ceiling using the screws you removed earlier. Make sure they are secure and snug.
Step 9: Final Inspection
Turn your HVAC system back on and allow it to run for a few minutes. Check for any unusual sounds or airflow issues. If everything seems fine, your freshly cleaned AC vents should be ready to provide clean, cool air to your home.
Enhance Air Quality and HVAC Efficiency
Cleaning your AC vents is a straightforward process that can greatly improve your indoor air quality and the efficiency of your HVAC system. By following these simple steps and making it a part of your regular home maintenance routine, you’ll enjoy fresher, cleaner air and potentially reduce energy costs. So, roll up your sleeves, gather your supplies, and give your vents the cleaning they deserve for a healthier and more comfortable living space.For more information on how to maintain your AC vents contact Innovative Mechanical today.